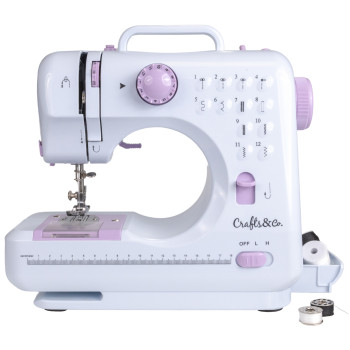
Sewing Machine for Beginners - 12 built-in stitches
Welcome to this practical guide to setting up your Crafts&Co sewing machine! A correctly set-up sewing machine is the key to successful sewing. We take you through the important steps to configure your sewing machine optimally. Just follow these instructions and before you know it, you'll be ready to bring your creative ideas to life!
Take care before you start:
Unplug the power cord and remove the batteries when making adjustments near the needle, such as threading the needle, changing the needle, threading the bobbin, changing the presser foot.
Turn the handwheel anti-clockwise to raise the needle to its highest point and raise the presser foot lever.
Insert the desired thread bobbin onto the bobbin pin. Pull the thread, angle through the thread disc guide and then pull the thread down through thread guide 1.

Make a loop up around wire guide 2, then insert the wire from left to right through the hole of the take-up lever.
Pull the thread down again and insert it through the thread hole.
Pass the end of the thread through the eye of the needle from front to back.
Alternative: It can sometimes be a little tricky to get the thread through the eye of the needle. With the thread-throughs this a little easier. Pass the thread through from back to front through the eye of the needle. Then thread the thread through the loop of the thread throughs and pull the thread throughs together with the thread through the eye again.
Pull out about 10 cm of thread and place it backwards under the presser foot.

Turn the handwheel anti-clockwise to move the needle to its highest position
Slide the bobbin cover to remove it.
Place a spool in the compartment with the swivel turning clockwise. Pull the thread back so that there is at least 10 cm of loose thread.
Hold the end of the upper thread and turn the handwheel counterclockwise with your other hand until the needle is up again.
Pull the top thread to bring the bobbin thread through the hole of the presser foot.
Reinsert the bobbin cover. Pull out about 10 cm of both threads and place them backwards under the presser foot.
Connect the mains adapter to the power socket, then plug it into an appropriate socket. Then connect the plug of the foot pedal to the foot pedal socket.

Place a piece of fabric under the presser foot, then lower the presser foot lever to position the presser foot on the fabric.
You are now ready to sew, use the foot pedal to get started!

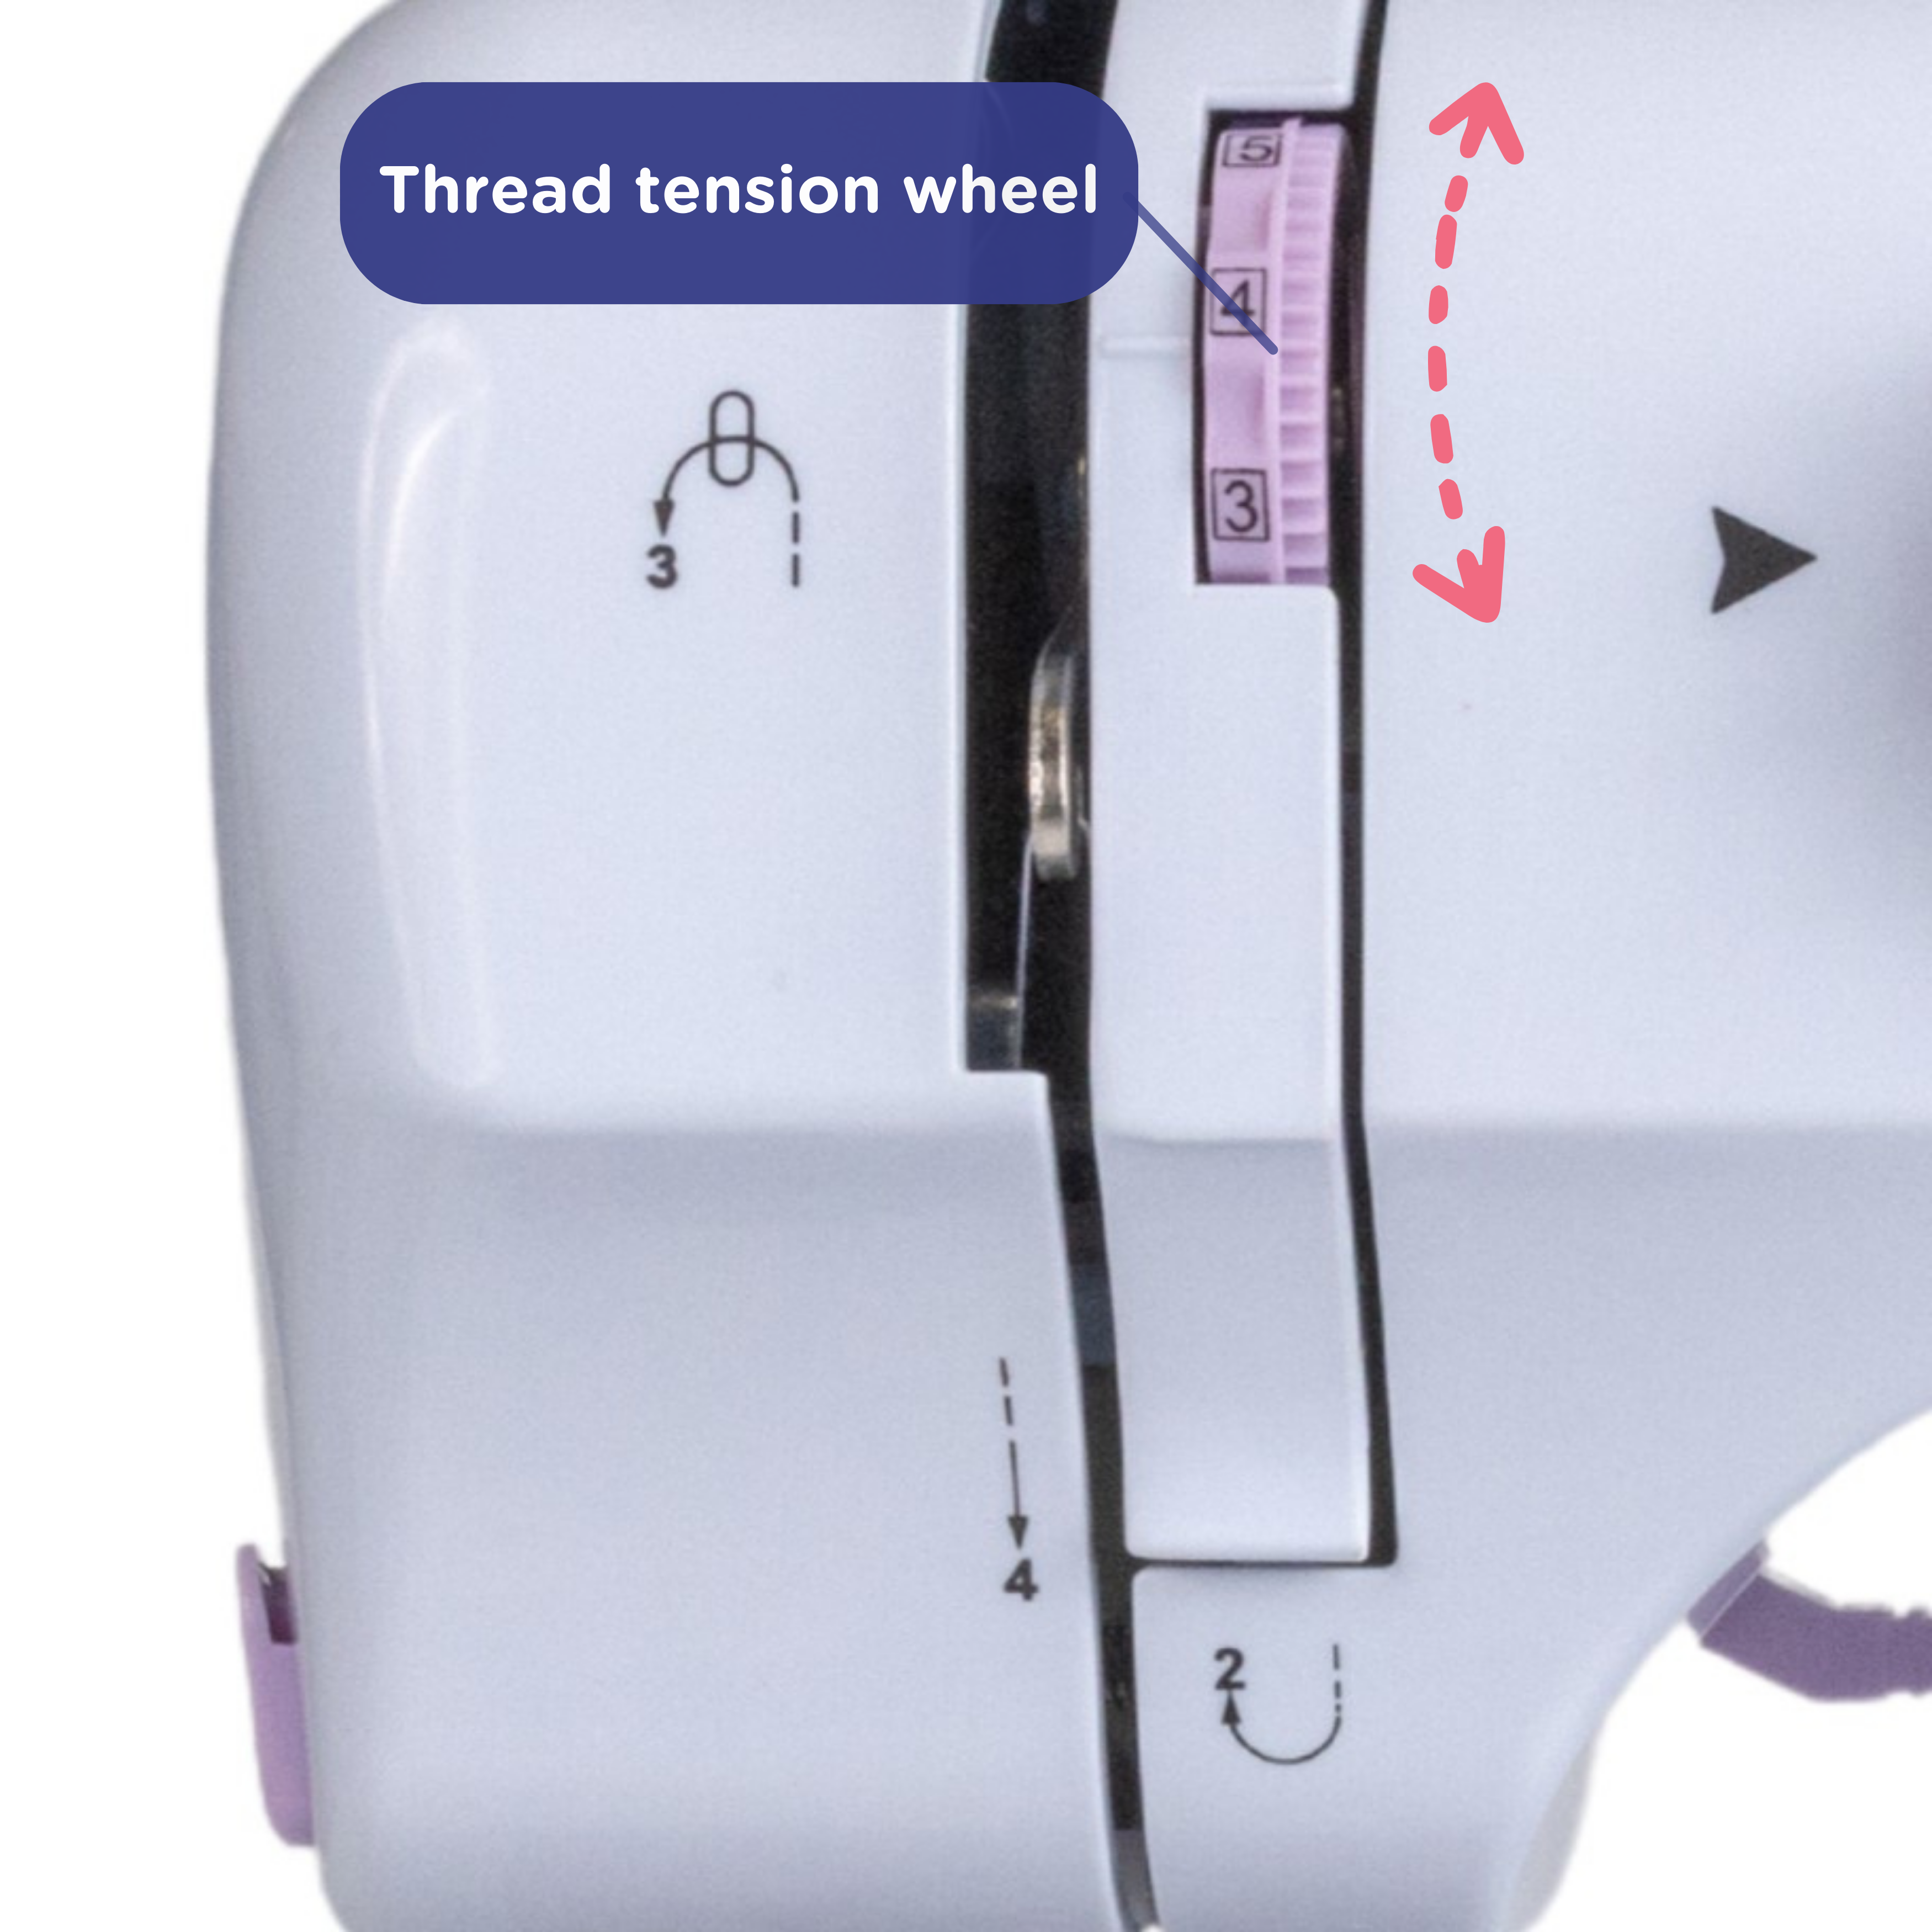
The right thread tension is vital to prevent the thread from slipping loose during sewing and becoming tangled or just breaking in general.
That is why we will explain how to adjust thread tension right here:
1. Make sure the footer is detached and elevated from the fabric via the little lever
2. Turn the handwheel on the side counter-clockwise until the needle can't go up any further.
3. Check that the thread is correctly threaded through the thread tension wheel.
4. Turn the wheel to adjust the thread tension.
With the correct thread tension, the thread will retain a proper level of tension during the use of the sewing machine and will not be pulled loose easily.
 8,9
8,9
"Very good"
Vítor Rua - 23-04-2024
"buena experiencia, envio ráoido"
Lola León - 05-03-2024


And receive updates by email from Crafts&Co.
Overschiestraat 63 - 5
1062 XD
Amsterdam
Our customer service is available from Monday to Friday between 09:00 and 17:30